How to Add Games to the Analogue Pocket With openFPGA (2026 Update)
The Analogue Pocket can do much more than play Game Boy cartridges. Its openFPGA mode lets you install community-made cores for arcade machines and home consoles. The easiest way to set them up is with Matt Pannella’s Pocket Updater Utility, now called Pupdate.
You can also watch My Video if you prefer to see the process in action. This written guide includes the microSD formatting step and identifies the parts of the updater that have changed since December 2023.
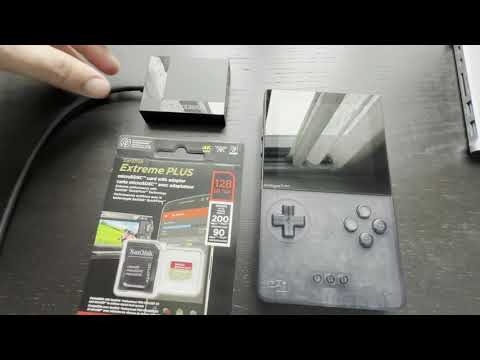
What you need
- An Analogue Pocket
- A microSD card
- A microSD card reader or adapter that works with your computer
- A Windows, macOS, or Linux computer
- An internet connection
I used a 128 GB SanDisk Extreme Plus microSD card, a UGREEN USB-C card reader, and a Mac. Any compatible microSD card and reader will work. The initial setup used about 3.24 GB, so a 128 GB card leaves plenty of room for files you add later.
Step 1: Format the microSD card
Back up anything you want to keep before formatting the card. Formatting erases its contents.
Format the microSD card as FAT32 or exFAT. Analogue lists both formats as compatible for Pocket firmware updates. Formatting the card correctly can prevent the Pocket from ignoring it or continuing to show the openFPGA QR code.
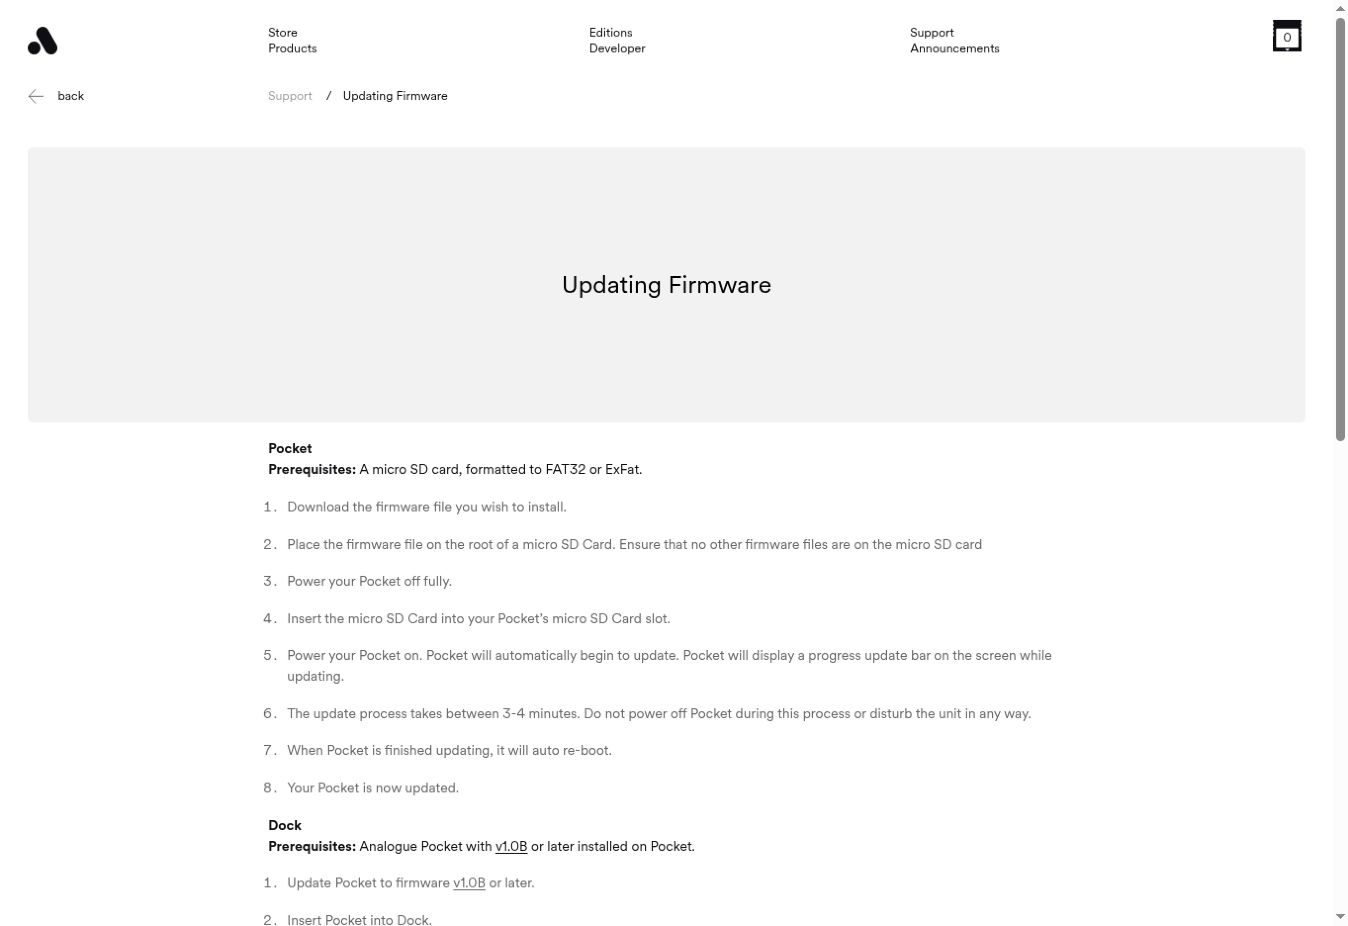
When formatting is complete, leave the card connected to your computer.
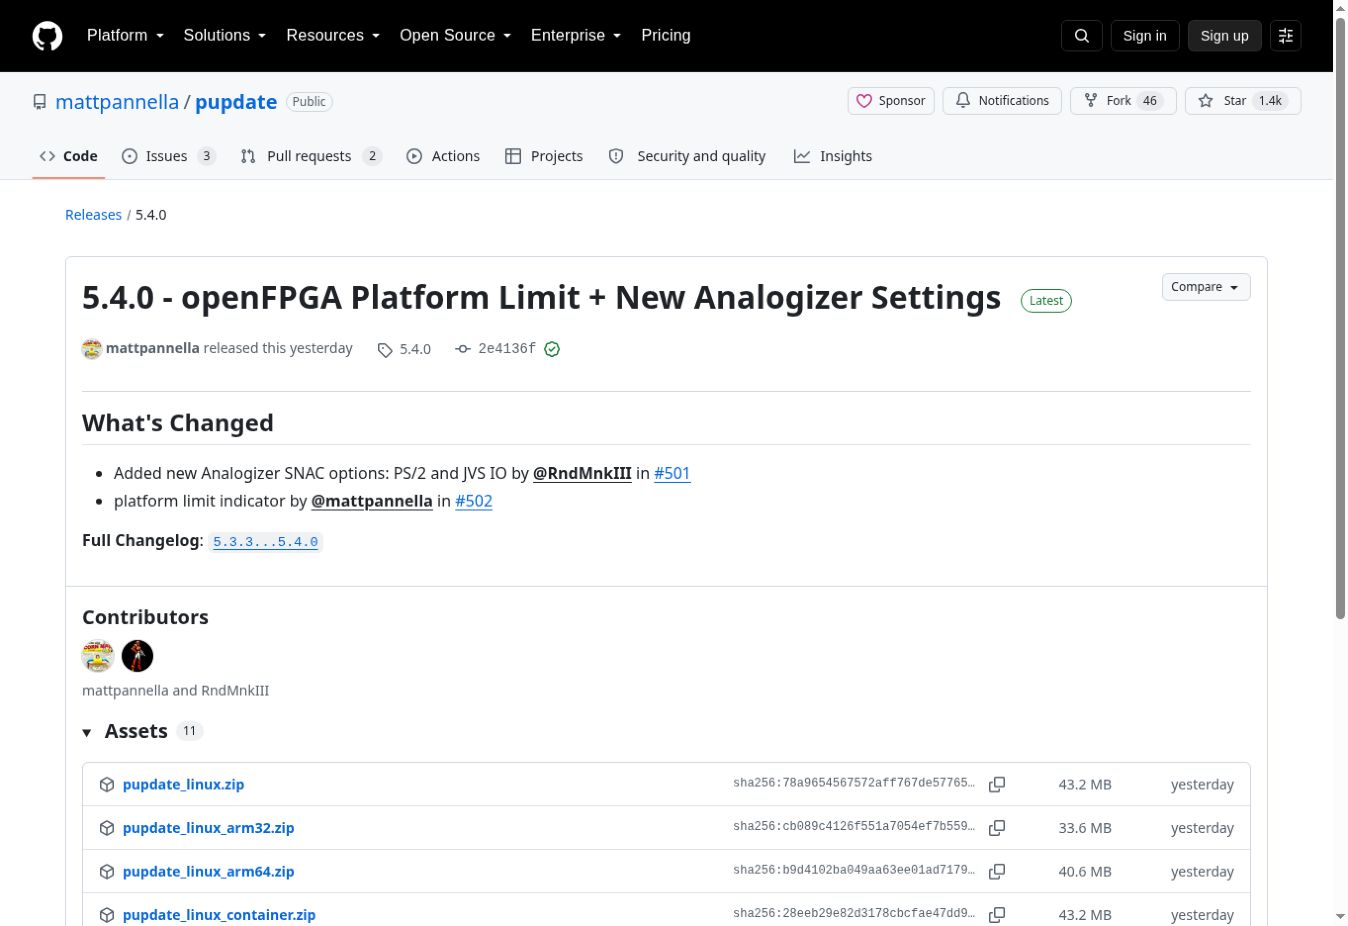
Step 2: Open the Pupdate releases page
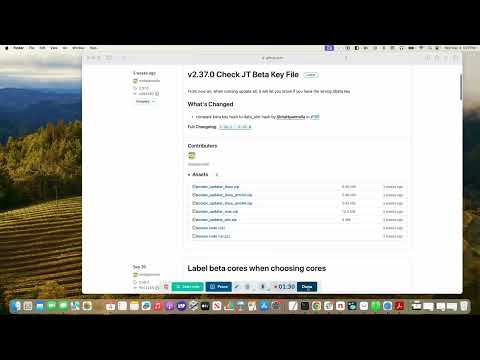
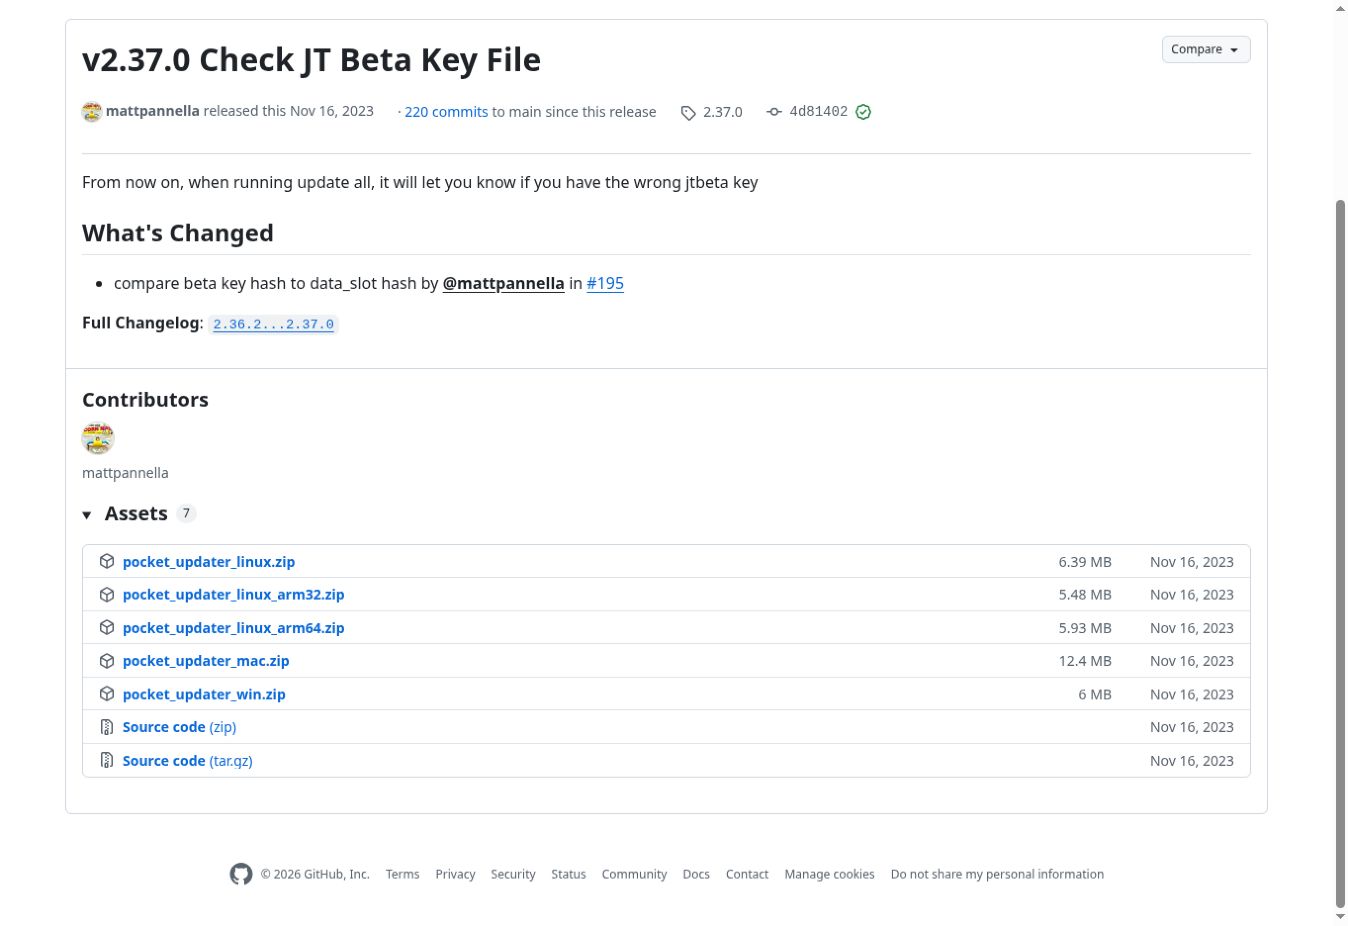
Go to the latest Pupdate release on GitHub. Download the ZIP file that matches your computer:
pupdate_mac.zipfor macOSpupdate_win.zipfor Windowspupdate_linux.zipfor standard 64-bit Linux- Use the ARM build only if your computer runs on the matching ARM architecture
Step 3: Download the ZIP file to the microSD card
Choose the root of the microSD card as the download location. The root is the first level of the card, outside every folder.
Download the ZIP directly to the card to keep the whole setup in one place and avoid missing a folder during a later copy. If you download the ZIP elsewhere, move the extracted updater executable to the root of the card before running it.
Step 4: Extract the ZIP file on the card
Open the microSD card in Finder or File Explorer. Double-click the ZIP file to extract it. Confirm that the updater executable appears at the root of the card.
With the 2023 release, the extracted program was named pocket_updater or pocket_updater_x64. Current releases use pupdate or a Windows executable with the same base name.
Step 5: Run the updater
On Windows
Double-click the Pupdate executable on the microSD card.
On macOS
Hold down the Control key and click the updater. Choose Open, then confirm the security warning.
If macOS still blocks the current Pupdate script, the latest Pupdate instructions provide this command:
xattr -d com.apple.quarantine /path/to/pupdateReplace /path/to/pupdate with the path to the Pupdate file on your microSD card, then open it again.
Step 6: Approve the first-run prompt
The version shown in My Video asks whether you want to continue and install new cores. Enter Y for yes. The latest version may use a different prompt.
A current release may start with a Settings or core-selection prompt. Choose the option that installs new cores if you want the broad setup covered in this guide.
Step 7: Run Update All
Run the latest version of Pupdate and select Update All from the menu. This tells the updater to check the firmware, install selected cores, and download the related files it knows how to provide.
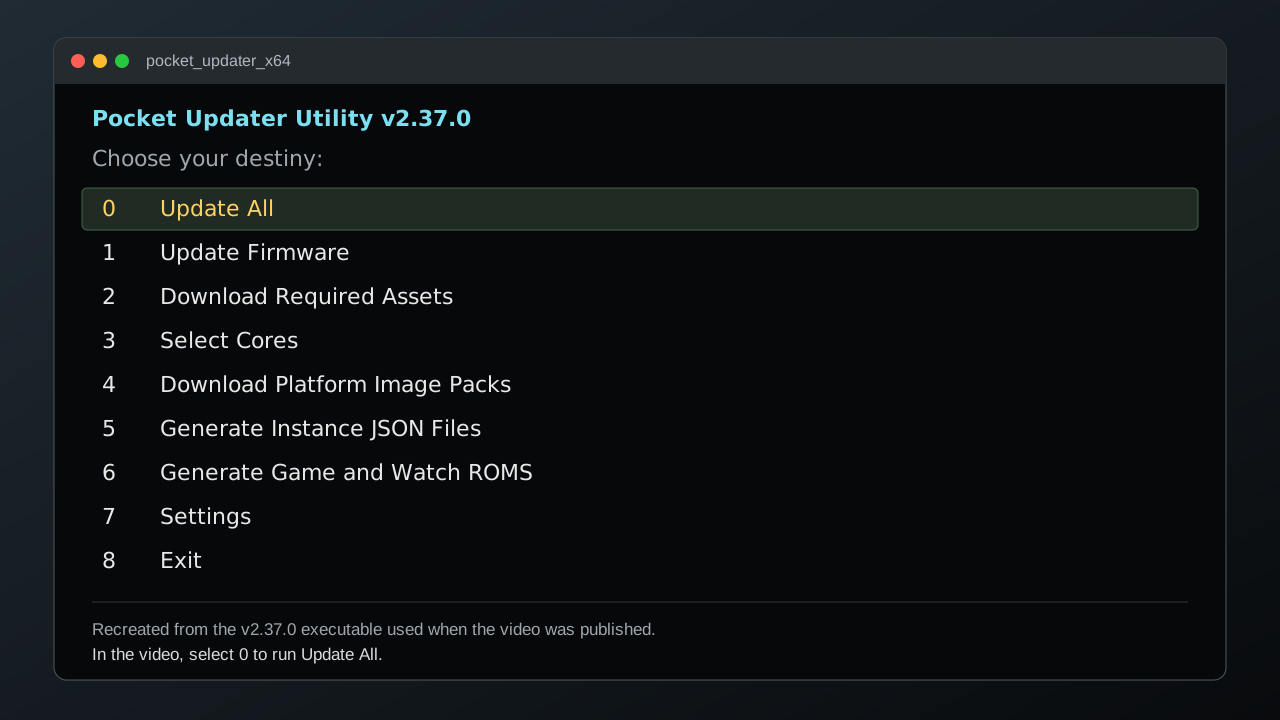
Follow the menu labels shown in the latest release. The screenshot is an example, so the number assigned to Update All may be different.
Step 8: Let the update finish
The program creates folders and downloads files directly to the microSD card. Allow about 30 to 45 minutes for this step. Your time will depend on your connection, selected cores, and card speed.
Leave the card connected and keep the computer awake. Close the updater only after it finishes writing the files.
Step 9: Check the completion message
When the scrolling stops, read the final lines. The version shown in My Video may display this message:
New Firmware was downloaded. Restart your Pocket to install pocket_firmware_1_1.binThe firmware file name will be different on newer releases. You should also see folders such as Assets, Cores, Platforms, and Settings on the card.
Press Enter to return to the main menu.
Step 10: Exit Pupdate
Choose Exit by name, then close the terminal window. The version shown in My Video assigns Exit to 8, while the latest version may use a different number.
Use your operating system’s eject command before removing the microSD card.
Step 11: Insert the card and update the Pocket
Power the Analogue Pocket off fully. Insert the microSD card into the Pocket’s microSD slot, then turn the Pocket on.
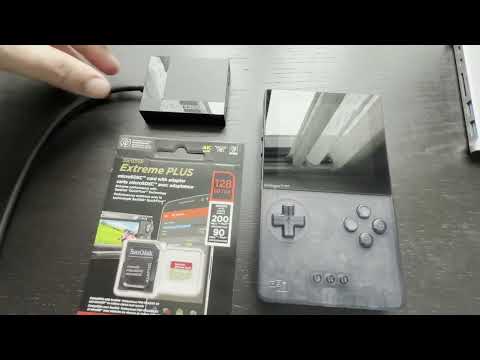
If Pupdate downloaded new Pocket firmware, the Pocket should start the firmware installation automatically. Analogue says this process takes about three to four minutes. Keep the Pocket powered on and leave the card in place until it reboots.
Step 12: Open an arcade game
From the Pocket home screen, open:
openFPGA > Arcade
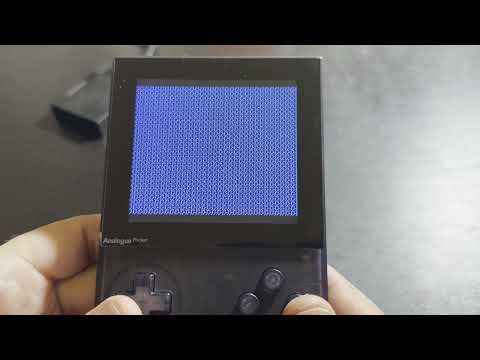
Select a game from the Arcade list. For example, choose Ghosts ’n Goblins. The arcade board screen should appear before the game starts.
Open Arcade Multi to access the Capcom CPS1, Capcom CPS2, Sega System 16A, Sega System 16B, and Taito cores. To test Sega System 16A, select Shinobi and launch it.
Step 13: Add games for console cores
Pupdate can install console cores without supplying console game files. Open the Sega Master System core, for example, and the game list may be empty until you add your own files.
For those cores, add legally obtained game files to the folder required by each core. Check the core’s README because folder names and accepted file formats vary. Pupdate’s instructions use paths under /Assets/[platform]/common for several console cores.
If openFPGA still shows a QR code
- Confirm the card is formatted as FAT32 or exFAT.
- Confirm the Pupdate executable and any downloaded Pocket firmware file are at the root of the microSD card.
- Run Update All again and check the final lines for an error.
- Make sure at least one core was selected for installation.
- Eject the card through your operating system before removing it.
- Power the Pocket off fully, reinsert the card, and start it again.
- Use the latest Pupdate release if an older build can no longer reach its download sources.
What the updater installs automatically
The updater installs arcade and multi-arcade cores plus the ROM files it is permitted to retrieve for those packages. Console game files generally have to be supplied separately.
Current Pupdate releases have more settings and can manage firmware, cores, image packs, BIOS files, and certain core-specific downloads. Review Settings before Update All if you want to limit what it changes.